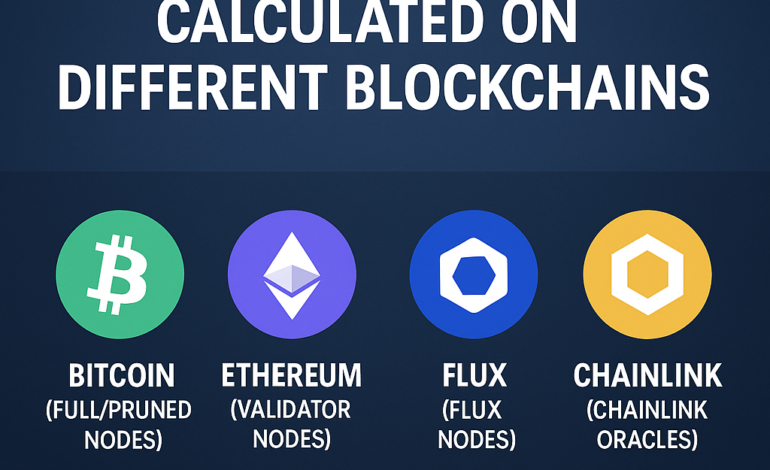
Blockchain technology isn’t limited to public networks like Bitcoin and Ethereum. Many businesses and developers now prefer private blockchains for enhanced control, privacy, and scalability. Setting up a private blockchain node allows you to run your own decentralized ledger, restrict participant access, and tailor network rules to specific use cases.
What Is a Private Blockchain Node?
A private blockchain operates similarly to public blockchains but with restricted access. Only invited participants can join the network, and the system often relies on permissioned nodes to validate transactions and maintain consensus.
A node in this setup is a computer connected to the private blockchain, responsible for storing a copy of the ledger, validating transactions, and maintaining network activity.
Why Run a Private Blockchain Node?
Some key reasons organizations and developers deploy private nodes include:
- Control over network participants and permissions
- Higher transaction throughput with lower fees
- Data privacy for internal processes
- Customized consensus mechanisms
- Enterprise-grade applications (supply chain tracking, internal asset management, private smart contracts)
Requirements for Setting Up a Private Node
Before beginning your setup, ensure you have:
- A dedicated computer or VPS with stable internet
- At least 4GB RAM (8GB+ recommended)
- 100GB+ SSD storage
- Linux-based OS (Ubuntu is widely supported)
- Latest Node.js or Go (depending on your blockchain platform)
- Open firewall ports for node communication (commonly TCP/UDP 30303 for Ethereum)
Step-by-Step: How to Set Up a Private Blockchain Node
Choose Your Blockchain Framework
Popular frameworks for private blockchains include:
- Ethereum (Geth/Nethermind in private mode)
- Hyperledger Fabric
- Multichain
- Quorum (Ethereum-based enterprise blockchain)
For this example, we’ll use Geth (Go-Ethereum) as it’s one of the most accessible and flexible platforms for private blockchain deployments.
Install Geth
On your Linux machine:
sqlCopyEditsudo add-apt-repository -y ppa:ethereum/ethereum
sudo apt-get update
sudo apt-get install ethereum
Verify installation:
nginxCopyEditgeth version
Create a Genesis File
The genesis.json file defines the starting configuration of your private blockchain, including block parameters, network ID, and initial account balances.
Example:
jsonCopyEdit{
  "config": {
    "chainId": 2025,
    "homesteadBlock": 0,
    "eip155Block": 0,
    "eip158Block": 0
  },
  "difficulty": "0x200",
  "gasLimit": "0x8000000",
  "alloc": {}
}
Save this file in your desired directory.
Initialize the Blockchain Data Directory
Run:
swiftCopyEditgeth --datadir /path/to/your/datadir init genesis.json
This command sets up the blockchain data directory using your custom genesis block.
Start Your Private Node
Use:
cssCopyEditgeth --datadir /path/to/your/datadir --networkid 2025 --http --http.port 8545 --port 30303 --nodiscover console
This starts your private node, enables JSON-RPC HTTP API access, and opens necessary ports.
Connect Additional Nodes (Optional)
To scale your private network:
- Copy the genesis.json to other servers
- Initialize their datadir similarly
- Use enode URLs to connect them manually via admin.addPeer command inside the console
Example:
perlCopyEditadmin.addPeer("enode://unique-node-id@IP:PORT")
Secure and Monitor Your Node
Best practices include:
- Running nodes behind a firewall
- Using SSL/TLS for API access
- Limiting API access to internal IPs
- Regularly monitoring logs and performance metrics
Final Thoughts
Running a private blockchain node gives organizations full control over their decentralized infrastructure while offering the security and transparency benefits of blockchain. Whether for internal financial systems, supply chain solutions, or decentralized identity management, setting up your own node isn’t overly complex — especially with frameworks like Ethereum’s Geth or Hyperledger.
By following this technical guide, you can deploy a functional private blockchain environment tailored to your business or development needs.